CxemCAR 2 - Android controlled RC Vehicle with real-time video (Bluetooth & Wi-Fi)
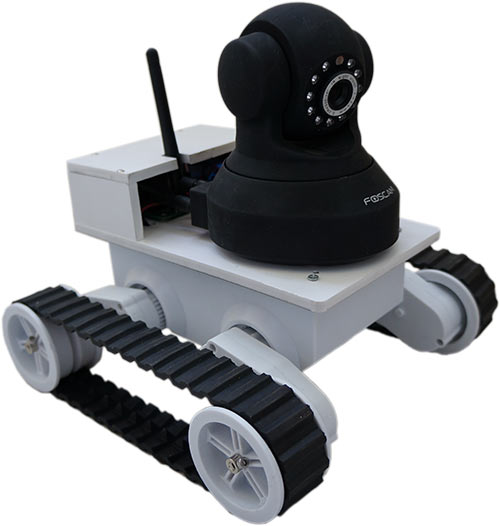
On the Internet there are many articles on the use of RC cars with IP or Web-based camera. But most of them used a laptop or an internal router with Open-WRT or DD-WRT firmware. View the video and control of the RC car in such projects usually implemented with a PC or Laptop. In this article describes the control crawler platform from any Android-device (tablet, smart phone, etc.), as well as viewing real-time video and rotation control pan/tilt of IP-Camera. All hardware has remained virtually unchanged in the first project CxemCAR, changes were made Android-applications to work with the Wi-Fi IP camera.
The project is built on the Arduino. To control the car using Bluetooth channel. As an IP camera I used the popular model Foscam FI8918 (80-100$).
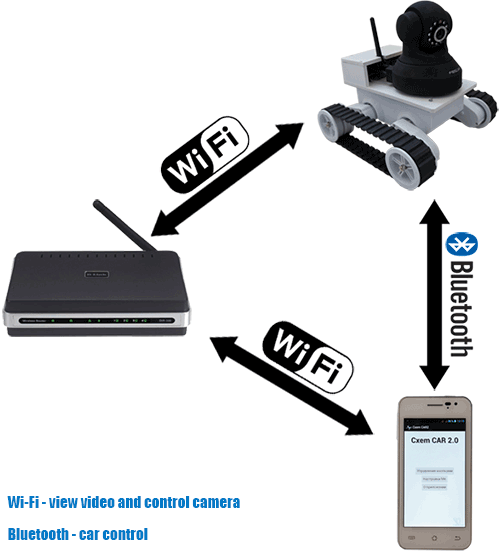
As seen in the figure above, the interaction between the smart phone and tracked platform implemented directly on Bluetooth-channel, and the interaction with the camera implemented on Wi-Fi channel, but through the router. And this is a big disadvantage - because without a router, all operations with the camera will not work, for example in the street or anywhere outside the city. I tried to make a direct control via Wi-Fi, turning on Android'e mode Host Wi-Fi, but nothing worked. In the future, I will try to make a direct interaction without a router. I have suggestion that this requires a camera with support W-Fi Direct.
IP-Camera
IP-camera Foscam FI8918 gives a video stream in a format MJPEG (Motion JPEG), in which each frame is compressed using the popular JPEG image compression algorithm. At a resolution of the video stream 320x240, FPS is 25-30. If the video resolution of 640x480, the FPS drops by about 2 times. For Android on the Internet has been found MJPEG class for processing and display of data in activity.
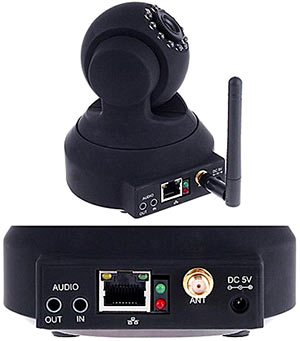
FI8918 model has the function of the rotation and tilt of the camera via the web-interface. In this project, this feature is also implemented. Functions Foscam cameras are well documented (see file IPCAM CGI SDK V1.7). View video stream, control, configuration made through CGI scripts. View the video stream via script videostream.cgi with the appropriate parameters, for example:
//192.168.1.10:8081/videostream.cgi?user=cxemcar&pwd=cxemcar&resolution=8
where the user - user name, pwd - password, resolution - video resolution (8 - 320x240px, 16 - 640x480px)
To control the movement of the camera (the function pan / tilt) is used script decoder_control.cgi, and the parameter "command" set command:
0 - move the camera up
1 - stop the upward movement
2 - move down
3 - stop the downward movement
4 - turn to the left
5 - stop turning left
6 - turn to the right
7 - stop turning to the right
25 - set in the middle
26 - vertical "patrol"
27 - Stop vertical "patrol"
28 - Horizontal "patrolling"
29 - Stop horizontal "patrol"
In the Android application I have used only the interaction with only two scripts, but as noted above, via CGI scripts can do a lot things:
get_camera_params.cgi - get the current camera settings. The script returns the resolution, brightness, contrast, mode 50/60 Hz mode, flip mode.
camera_control.cgi - camera settings.
reboot.cgi - reboot the camera.
restore_factory.cgi - restore factory settings.
get_params.cgi - information about the camera and the many parameters.
set_datetime.cgi - to set the time and date.
set_network.cgi - network settings.
set_wifi.cgi - Wi-Fi network.
set_ddns.cgi - set of configuration Dynamic DNS.
set_ftp.cgi - setting FTP connection.
set_mail.cgi - setting for MAIL.
Etc.
The camera configured to work with a static IP-address. So that it can be accessed from the Android application. Although Foscam support DDNS services, so you can use a dynamic IP
Chassis
Since the IP-camera represents a massive construction, so the platform must be of appropriate size. As the chassis, I used the widespread undercarriage "Rover 5".
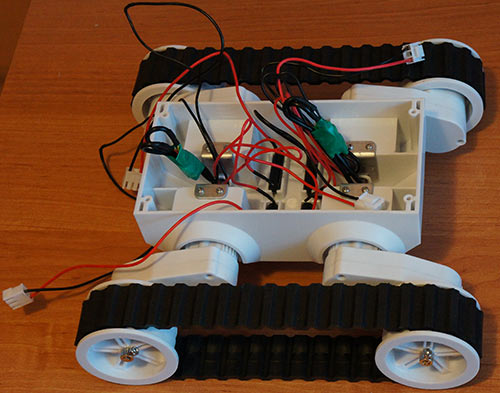
The platform comes without top cover
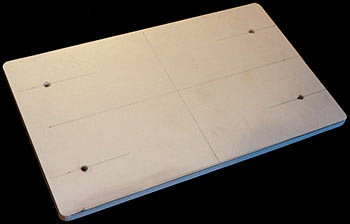
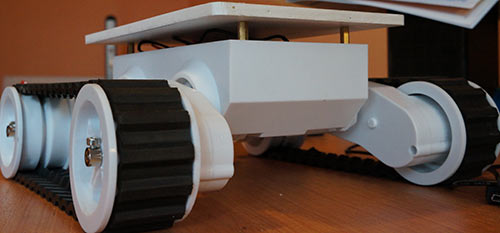
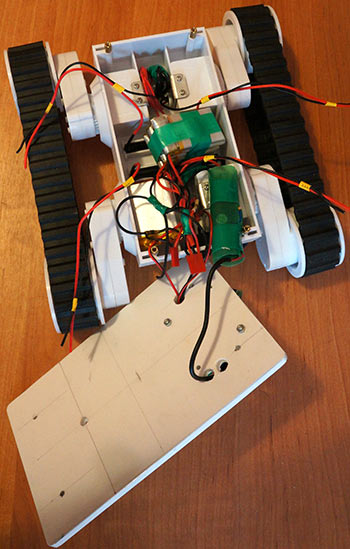
The cover has been cut out of plastic and mounted on a small racks to put in batteries to power the camera and motors, a battery to power the Arduino, and a 5V voltage converter to power the camera.
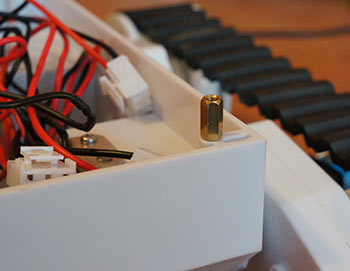
Cover attached:
Switch power / charge.
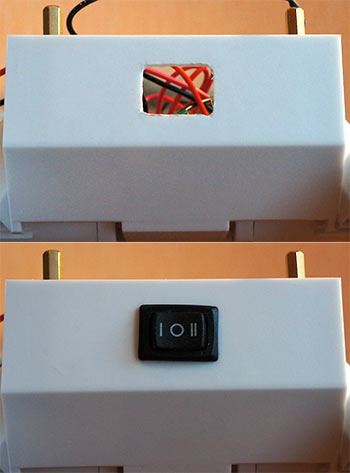
Batteries and converter board were placed inside the chassis. The cover was cut holes for the wires to the control board, camera, and motor driver. To charge the batteries were put 2 connector.
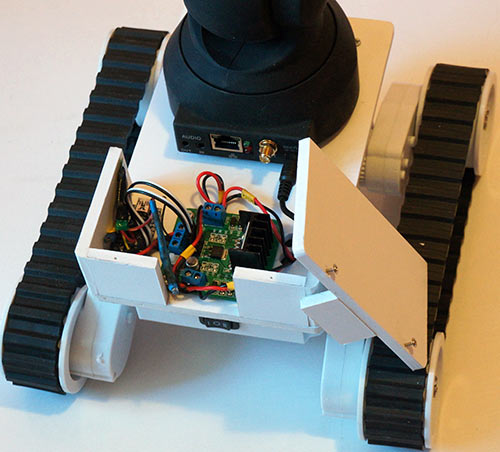
IP-camera, Arduino, Bluetooth-module and motor driver were mounted on the chassis cover.
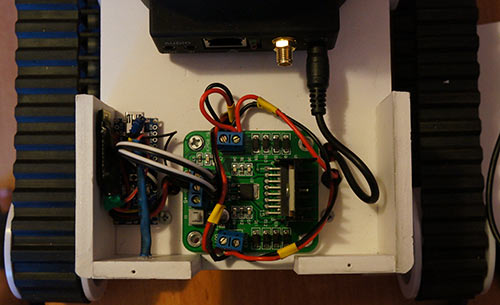
For electronic parts have been cut out of the plastic bumpers and made a small cap, which is screwed on screws and can be removed if necessary.
Hardware
The hardware of the project is almost identical Arduino RC car. But added a camera, and it requires a 5V supply. So was added step-down voltage converter on a chip LM2596.
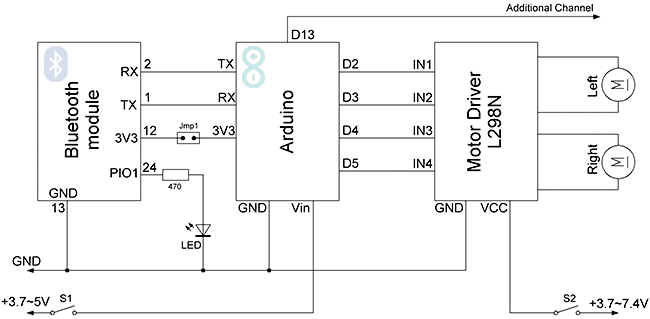
Used by: Bluetooth module HC-06, Arduino Nano v3 and Motor Driver L298N. If you power the Arduino board from 4V and above, between the terminal RX (Module HC-06) with TX (board Arduino) necessary put a voltage divider, because HC-06 logic levels is 3.3V. Better yet, use specialized chip, such as MAX232.
Sketch for Arduino has remained the same, and posted on the GitHub'e (link below).
Software
Software written in the open-source IDE Eclipse. The structure of the project:
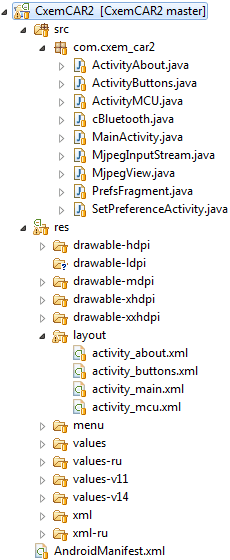
Project contains 4 activity: main, about the program, working with Flash and basic activity for chassis control and view the video. To work with MJPEG stream, there are 2 classes: MjpegInputStream and MjpegView.
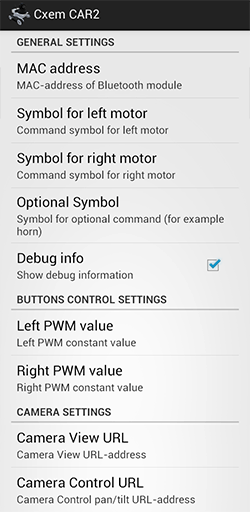
The application contains a menu with the following settings:
Activity of control is as follows:
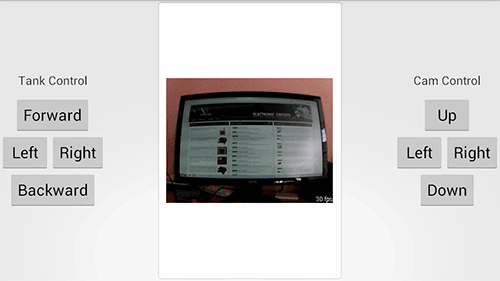
On the left are buttons for control platform, in the middle is displayed the video stream from the camera and on the right are buttons for camera pan/tilt control.
If you are familiar programming on the PC, you can implement control of track platform from your computer through the Internet and other means.
Project for Android (GitHub)
Project for Arduino (GitHub)
Author: Koltykov A.V.


